
How to Create UPC Barcodes That Scan Every Time
Adding a Universal Product Code (UPC) to your packaging is essential for selling in retail and tracking inventory efficiently. UPCs are among the most recognized and widely used barcodes, and if your product will be sold in stores or through online retailers, having an accurate, scannable UPC is critical.
At Inovar Packaging Group, we frequently assist brands in preparing their packaging for retail compliance—especially when it comes to barcode placement, print quality, and sizing. Here’s a straightforward guide to help you understand what UPCs are, how to get one, and how to use them properly on your label.
What Is a UPC?
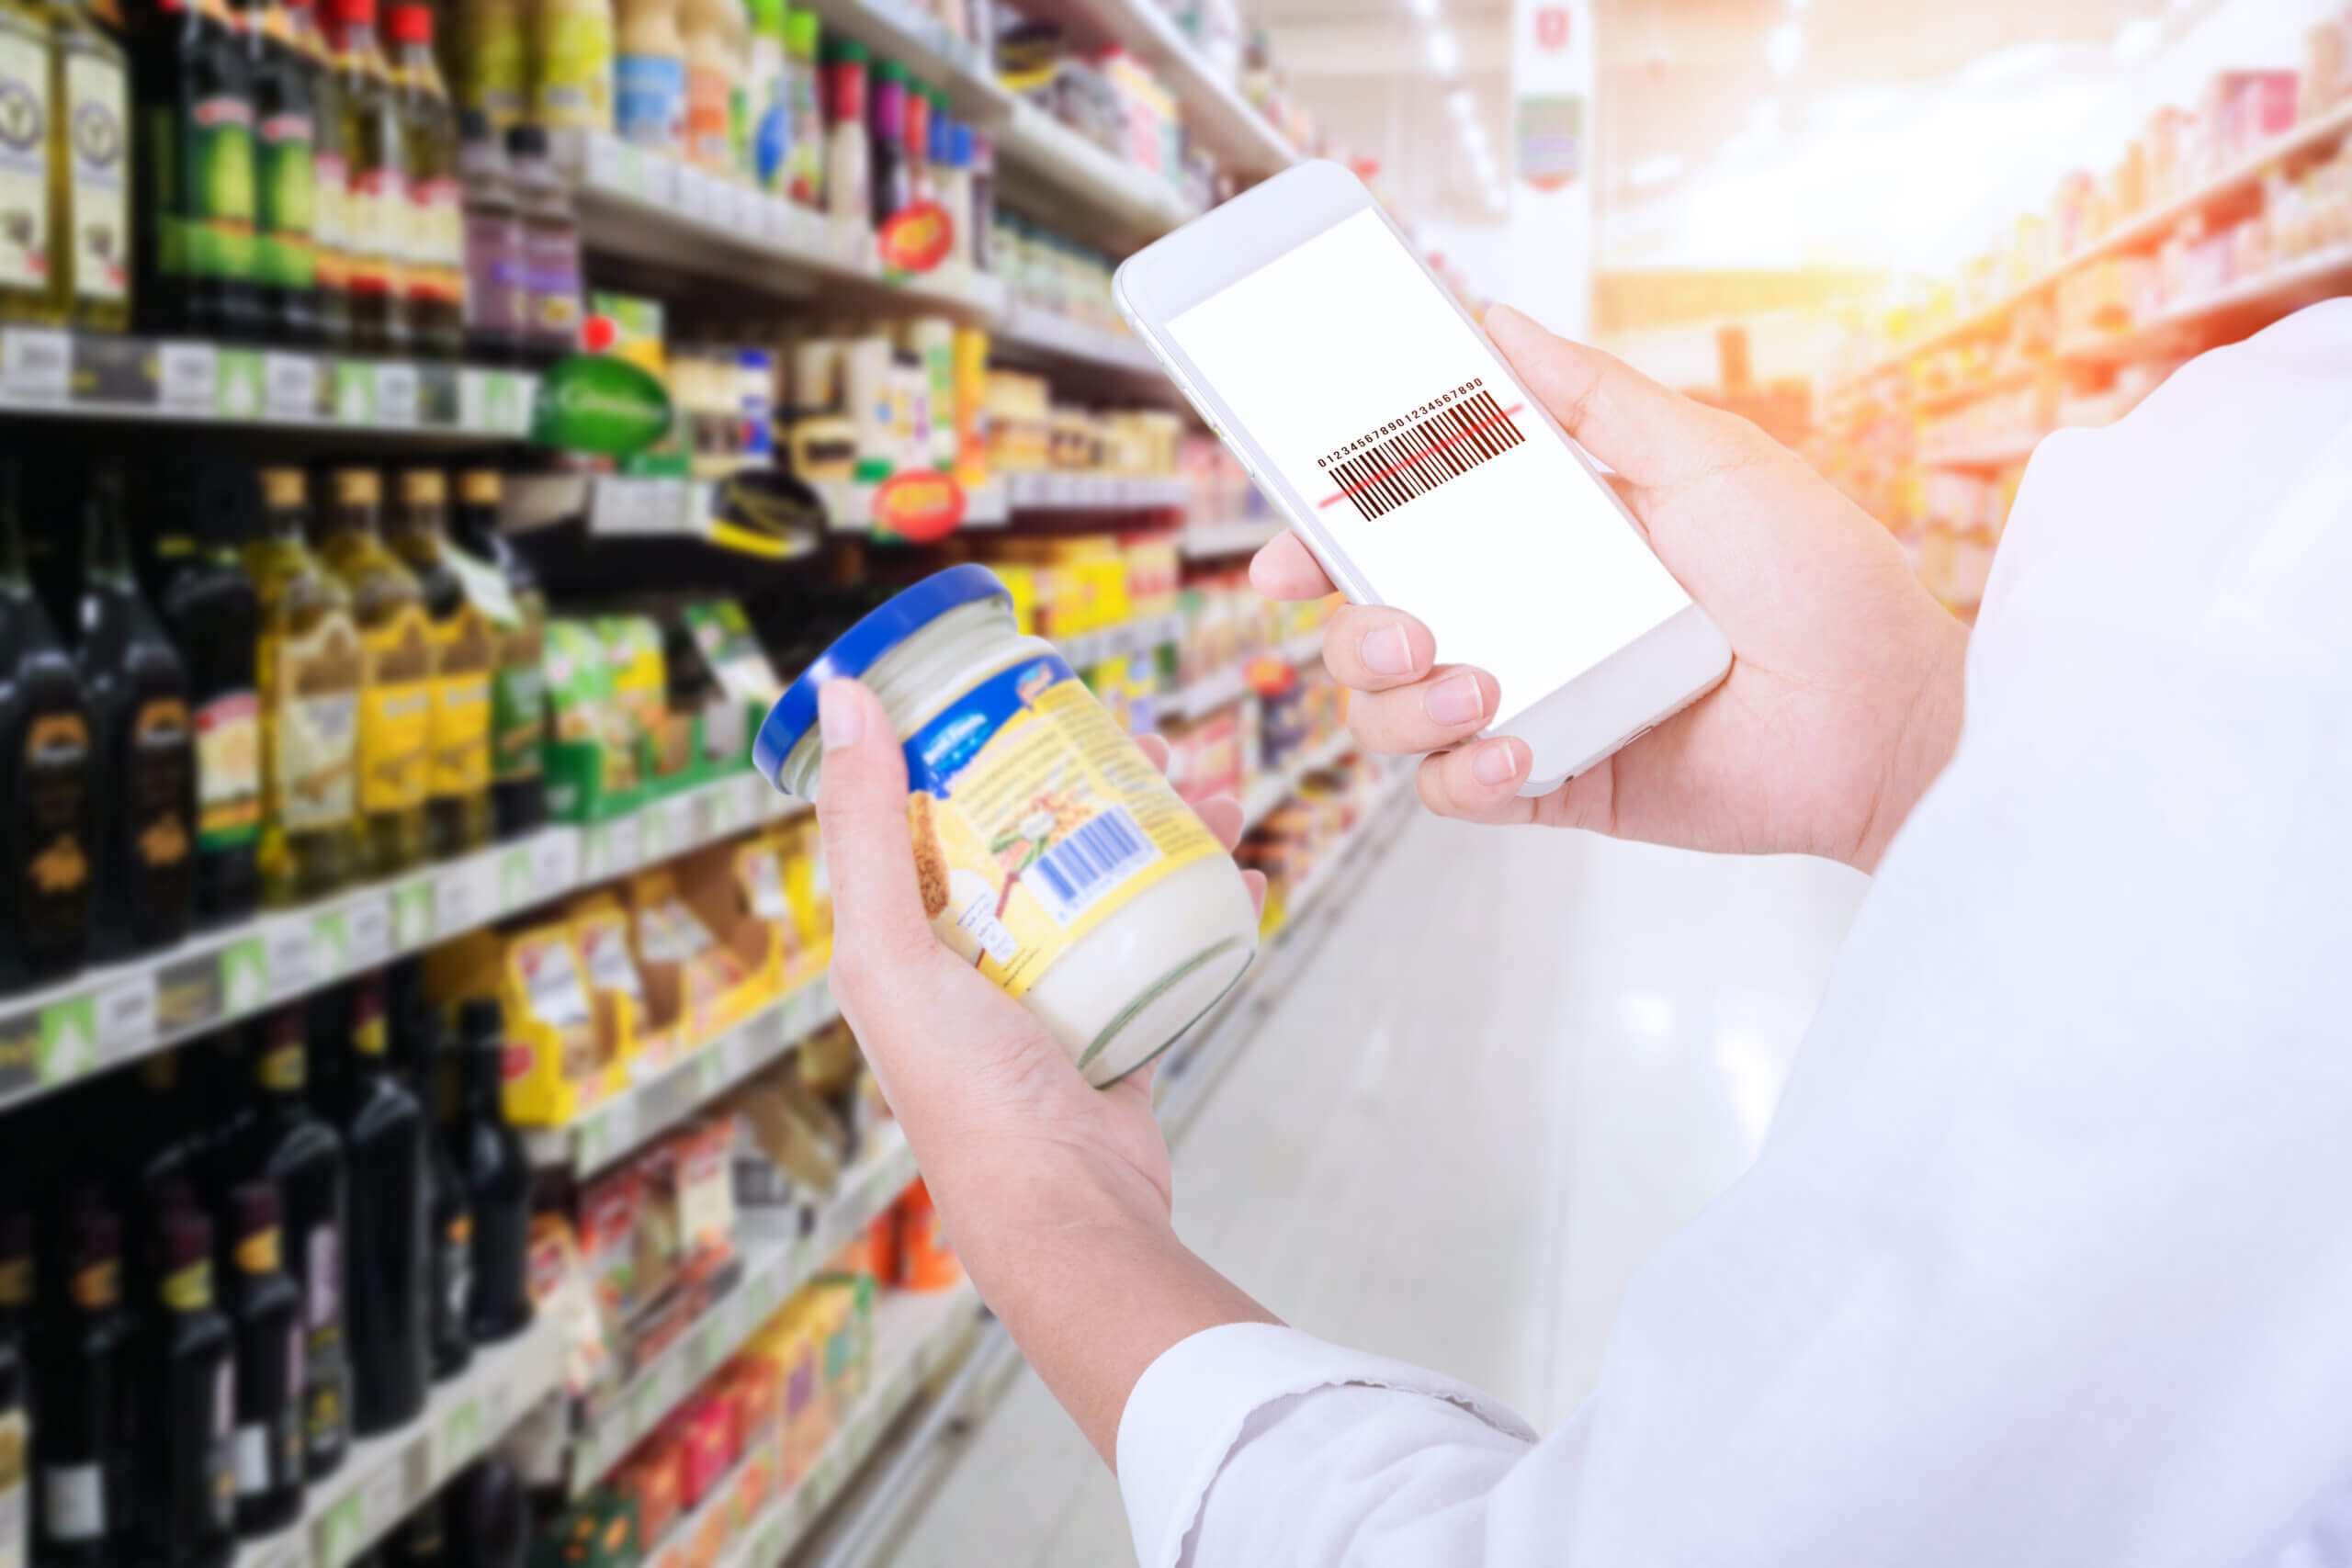
A UPC is a 12-digit code represented by a pattern of vertical black lines and white spaces. Each number corresponds to a specific product type and is unique to your item. When scanned at checkout, the UPC pulls up pricing, product details, and inventory data.
However, the physical barcode you add to your label must not only be accurate—it must also meet print specifications to ensure it scans correctly and doesn’t interfere with your label design.
Step 1: Purchase a UPC from GS1
To get started, you need to license a UPC number through GS1 US, the global standards organization responsible for issuing unique product identifiers.
GS1 will help you:
- Determine how many unique barcodes you need
- Register your company prefix
- Assign numbers to each product
- Stay compliant with global retail standards
Avoid purchasing UPCs from unofficial resellers, as this can lead to duplication or issues with retailer acceptance.
Step 2: Understand UPC Sizing Requirements
Once you have your UPC, you’ll need to size it properly on your label to ensure readability and scan accuracy. These are the industry standard dimensions:
- Standard UPC size: 1.469 inches wide by 1.02 inches tall
- Minimum allowed size (80% scale): 1.175 inches wide by 0.816 inches tall
- Maximum allowed size (200% scale): 2.938 inches wide by 2.04 inches tall
Proper scaling is important, especially if your label needs to fit smaller packaging or curved surfaces.
Step 3: Leave Clear Space Around the Barcode
To ensure scannability, barcodes require “quiet zones” or clear space around all sides of the graphic.
We recommend maintaining at least 0.25 inches of space around the entire UPC. This helps prevent interference from nearby text, design elements, or die lines.
Step 4: Place the Barcode in Your Label Artwork
If you’re unsure how to incorporate the barcode into your label layout, our prepress experts at Inovar can handle it for you. We can:
- Generate the barcode file from your GS1-provided number
- Adjust it to the correct size and scale
- Insert it into your artwork at the optimal location
If your label design doesn’t accommodate the UPC, we can also produce a separate barcode label that’s discrete but compliant.
Final Step: Proof and Print with Confidence
Once your barcode is placed, we highly recommend a press proof to ensure print accuracy. This step verifies that your UPC prints at the correct size, is crisp and legible, and meets retail scanning standards. If you’d like to preview your label before final production, we also offer 3D rendering services to help visualize how the finished label will appear on your container.
Need Help with Your UPC?
The Inovar Packaging team has supported thousands of brands in preparing their labels for retail success. Whether you need help generating barcodes, reviewing placement, or selecting the right materials for your product label, we’re here to guide you through it all. Contact us with questions or reach out to your Inovar representative to get started.
THE LATEST FROM INOVAR


WE'RE HERE TO SERVE YOU
Creating and producing labels can be overwhelming, but our experts are here to guide you every step of the way. Whether you have a project ready to go, have questions about label applications or materials, or want to learn more about our services, our team is ready to assist you.