


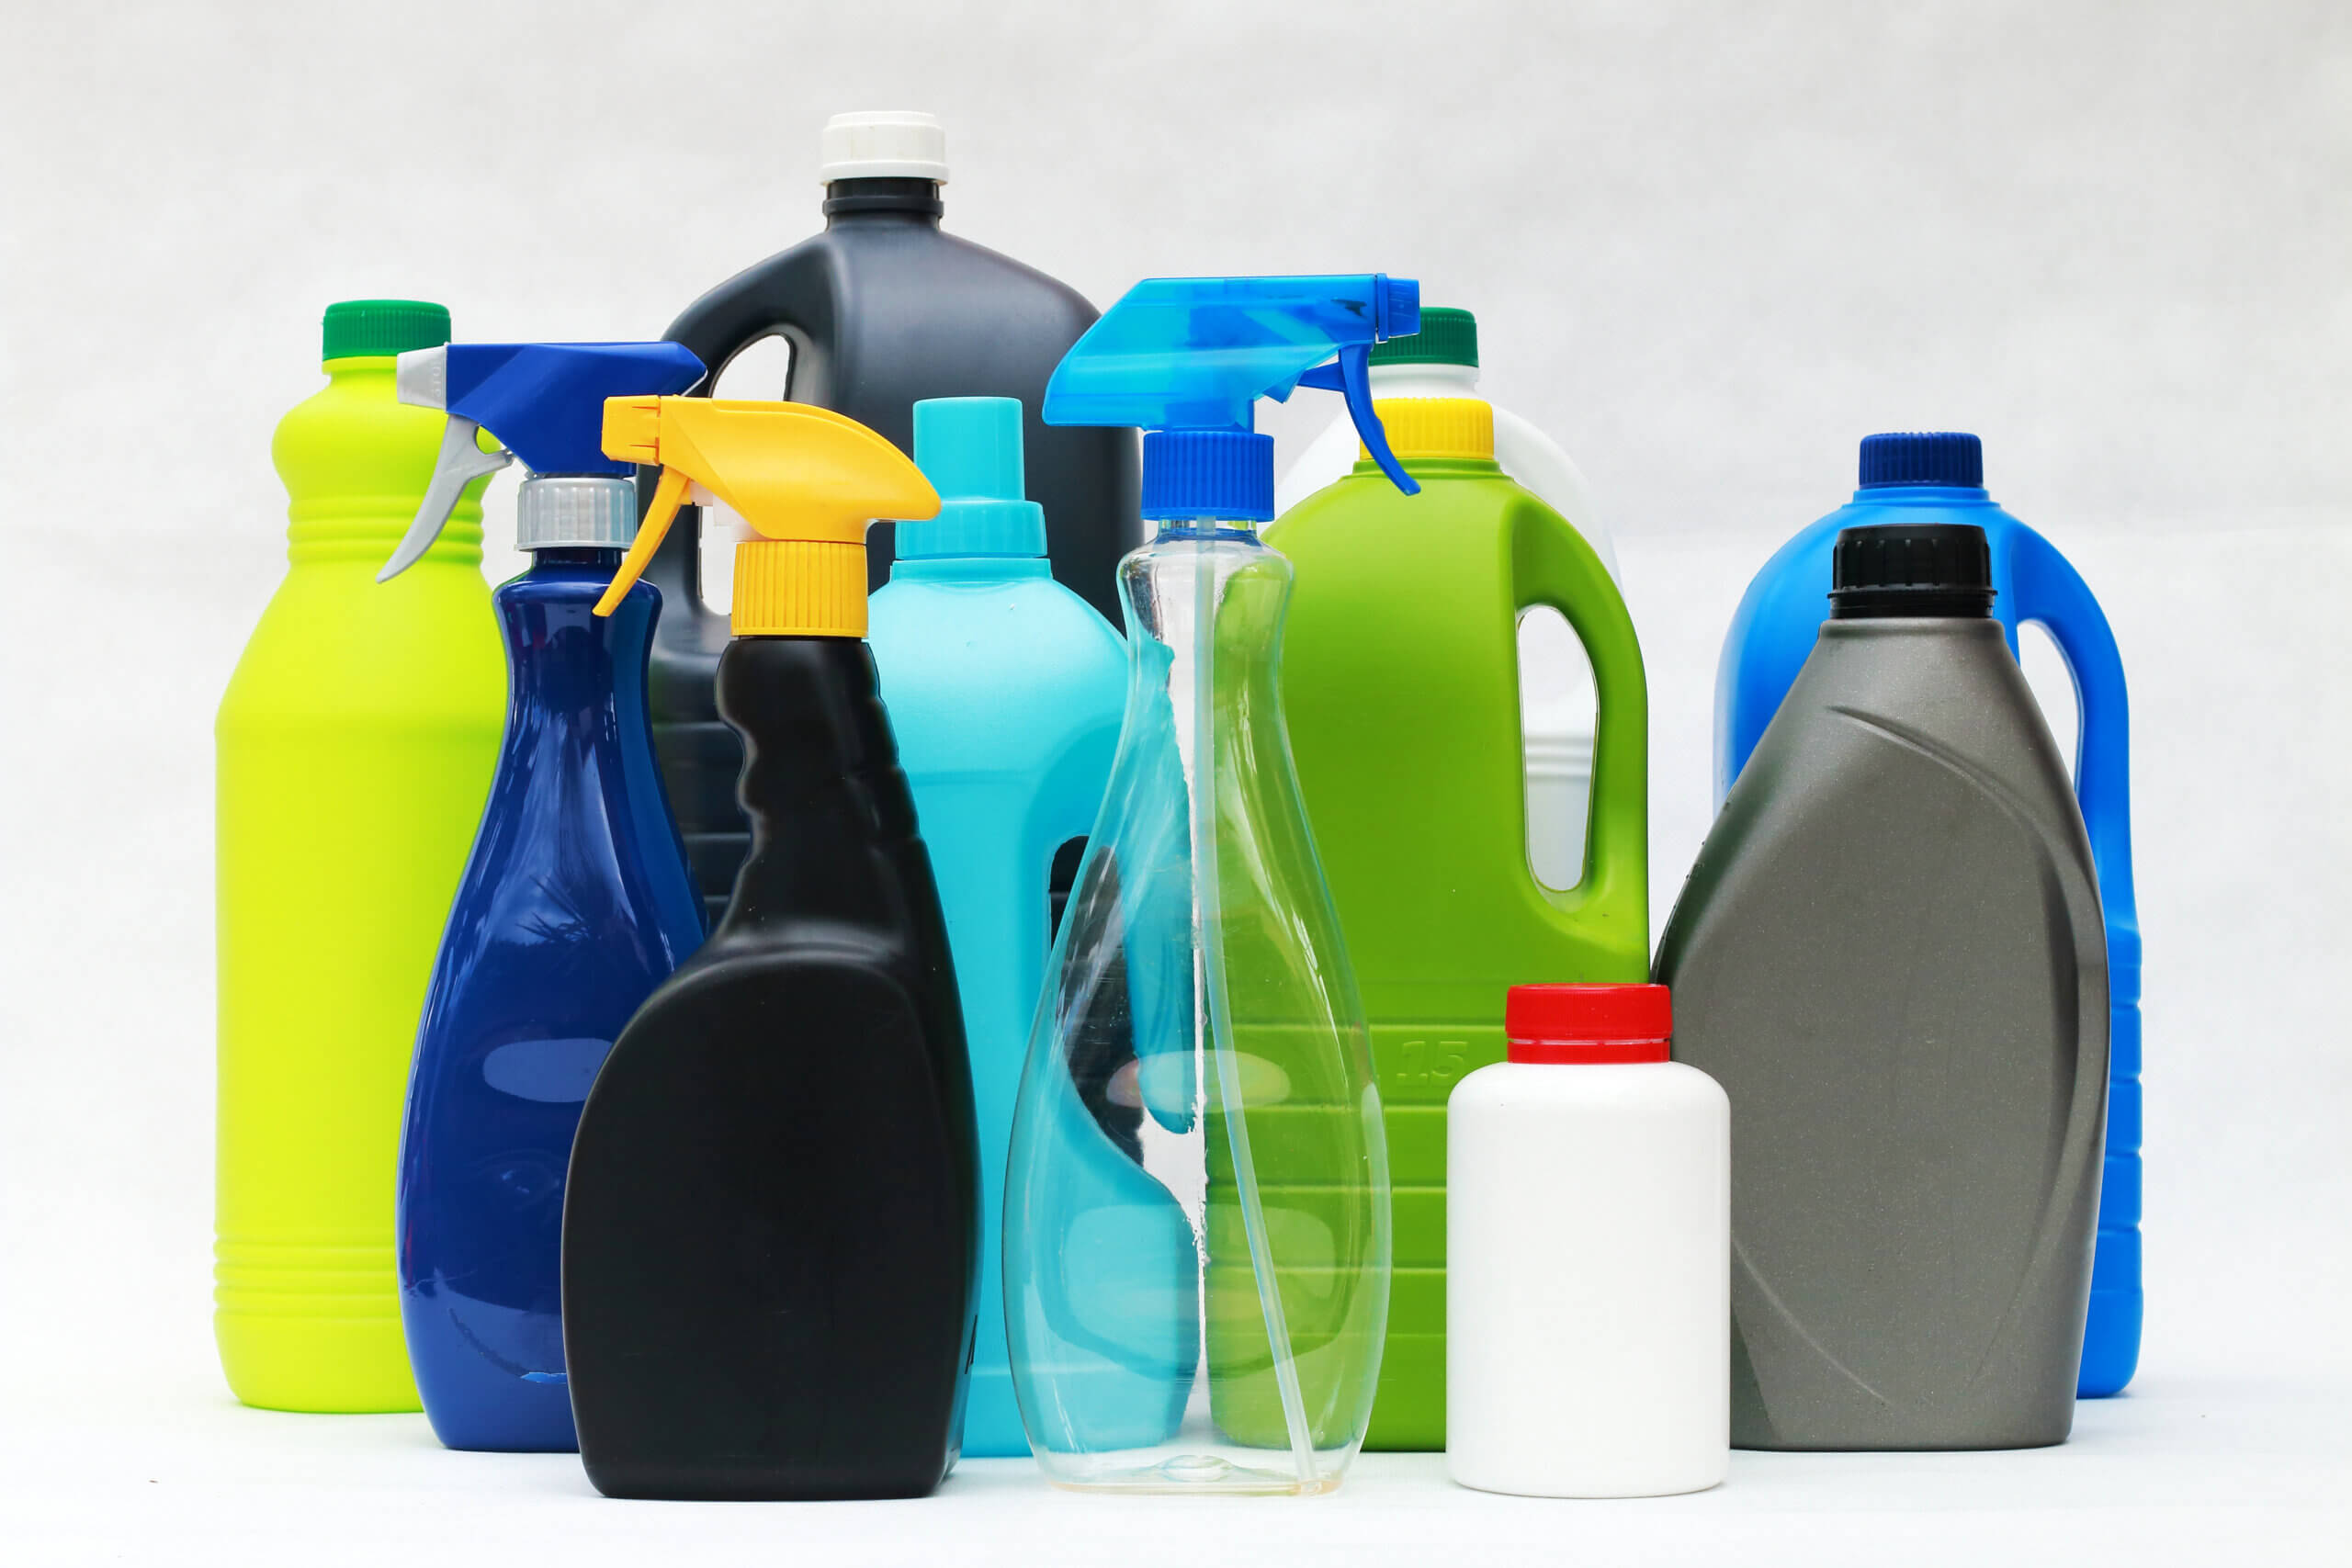
Labeling Challenges for Bottles With Curved or Textured Surfaces
Key Takeaways
- Curved, tapered, and textured bottles can create challenges with label adhesion, wrinkles, edge lifting, and consistent placement.
- The right label material and adhesive depend on the bottle’s shape, surface material, texture, and intended use.
- Moisture, condensation, temperature, and surface contamination can affect label performance.
- Label size, shape, and placement should be evaluated alongside the container’s geometry and application method.
- Testing labels on the actual bottle under realistic conditions can help identify problems before production.
A product label needs to do more than look good on a flat proof. Once applied to a bottle, it must follow the container’s shape, adhere to the surface, and maintain its appearance through filling, shipping, storage, and use.
That can become more challenging when a bottle has a narrow neck, tapered sides, deep curves, raised details, or a textured finish. These features can affect how a label sits on the container, how well the adhesive makes contact, and whether the finished package looks consistent.
For brands in industries such as food and beverage, personal care, supplements, and household products, these challenges can affect both packaging appearance and production efficiency.
Understanding the source of the problem is the first step toward choosing a label construction that works for the application.
1. Why Are Curved and Textured Bottles More Difficult to Label?
A flat label must adapt to the surface of a three-dimensional container. On a smooth cylindrical bottle, that may be relatively straightforward. On a tapered, contoured, or textured bottle, the label may need to accommodate more complex changes in shape.
Three common design challenges include:
- Curved surfaces: The label must wrap around the bottle without excessive tension or distortion.
- Tapered surfaces: The bottle’s diameter changes along its height, which can cause a rectangular label to wrinkle or sit unevenly.
- Textured surfaces: Raised details, grooves, and recessed areas can reduce the amount of adhesive that makes direct contact with the container.
These conditions can contribute to wrinkles, bubbles, uneven edges, or labels that begin to lift after application.
The bottle material also matters. Glass, PET, HDPE, and polypropylene containers can have different surface characteristics, so a label construction that works well on one bottle may not perform the same way on another.
What to consider: Evaluate the actual bottle shape, material, surface finish, and intended application process before selecting a label.
2. How Does Bottle Shape Affect Label Adhesion?
Bottle geometry can influence how a label sits against the container and how much stress develops around its edges.
On a curved bottle, a label material that is too stiff for the container’s diameter may resist conforming to the surface. This can increase the risk of edge lifting, often called flagging.
Tapered bottles introduce a different challenge. Because the diameter changes along the bottle’s height, a straight-edged label may not follow the surface evenly. Depending on the taper and label dimensions, the material may bunch, wrinkle, or lift near an edge.
Containers with pronounced shoulders, narrow necks, or compound curves can be more difficult still.
To reduce these risks, review:
- The diameter and curvature of the intended label panel
- Whether the bottle tapers from top to bottom
- The amount of flat or relatively uniform surface available
- The label’s width, height, shape, and placement
- The flexibility of the label material
- Whether a different label format may be more suitable
For some containers, a custom-shaped pressure-sensitive label may provide the fit needed. For bottles with complex contours, a shrink sleeve may be worth evaluating because it can conform around more of the container’s shape.
The best approach depends on the bottle, the desired coverage, production requirements, and the finished appearance.
What to consider: Make label dimensions and material selection part of the packaging design process, rather than adapting the label only after the bottle is finalized.
3. Why Can Textured Bottle Surfaces Cause Labeling Problems?
Textured bottles can be visually distinctive and provide a tactile experience that helps a product stand out. However, the same texture that creates visual interest can complicate label adhesion.
Raised patterns, embossed logos, ribs, and recessed areas create an uneven surface. Instead of making consistent contact across the entire label, the adhesive may contact only some portions of the container.
This can reduce effective bonding area and create places where the label is more likely to lift.
The severity depends on the depth and pattern of the texture, the container material, the label construction, and the adhesive selected.
Potential considerations include:
- Shallow texture: May be manageable with an appropriately selected label construction.
- Deep grooves or ribs: Can make consistent adhesive contact more difficult.
- Embossed branding: May interfere with label placement if the design overlaps raised or recessed areas.
- Soft or flexible containers: May change shape during application or use, adding another performance consideration.
Some adhesive systems are designed to perform on textured or contoured surfaces. However, there is no single adhesive that is suitable for every textured bottle.
Technical resources on label materials for textured and contoured surfaces illustrate how specialized adhesive constructions can be designed for these demanding applications.
What to consider: Identify the depth and location of the texture and determine whether the label can be positioned on a more consistent surface area.
4. How Do You Choose the Right Label Material and Adhesive?
Label material and adhesive selection should be treated as a combined decision. The material must conform to the bottle’s shape, while the adhesive must develop and maintain an appropriate bond to the container surface.
The right combination depends on several factors:
| Application consideration | What to evaluate |
| Bottle material | Glass, PET, HDPE, PP, or another substrate |
| Surface texture | Smooth, lightly textured, embossed, or deeply grooved |
| Bottle shape | Cylindrical, tapered, curved, or contoured |
| Label material | Paper, film, or a specialty construction |
| Adhesive | Compatibility with the surface and intended use |
| Environment | Moisture, condensation, temperature, chemicals, and abrasion |
| Application method | Manual application or automated labeling equipment |
Pressure-sensitive labels offer flexibility in material, adhesive, shape, and finish. Depending on the application, these options can help address different bottle surfaces and performance requirements.
Inovar’s pressure-sensitive label solutions include paper, film, metallized, and specialty materials, along with different adhesive options. Selection can account for the intended use, application method, environmental conditions, and the label’s performance requirements.
It is important not to choose an adhesive based only on the assumption that a stronger adhesive will solve every problem. A mismatch between the material, adhesive, bottle geometry, and application conditions can still lead to poor results.
What to consider: Share the bottle specifications, surface conditions, and expected use environment with your label supplier so the construction can be evaluated for the actual application.
5. How Do Moisture and Temperature Affect Label Performance?
Even a well-matched label construction can encounter problems if application conditions are not considered.
Moisture, condensation, and temperature can affect how pressure-sensitive adhesives bond to a bottle. For example, a cold bottle taken into a warmer, humid environment may develop condensation on its surface. Applying a label to a wet surface can interfere with adhesive contact.
The conditions during application may also differ from those the product experiences later. A beverage bottle may be refrigerated, while a personal care product may encounter moisture in a bathroom. A household or industrial product may be exposed to chemicals or temperature changes.
Before selecting a label, consider the full product lifecycle:
- Will labels be applied to dry, clean containers?
- Will the bottles be cold or exposed to condensation during labeling?
- Will the finished products be refrigerated or stored in humid environments?
- Will the label encounter oils, cleaning agents, or other chemicals?
- Does the package need to withstand abrasion or repeated handling?
The technical overview of labeling cold and wet bottles explains how cold temperatures and surface moisture can affect pressure-sensitive label application.
These conditions should be considered during material selection and testing, not after a production issue appears.
What to consider: Test the label under realistic application and storage conditions, including the temperatures and moisture levels the bottle is likely to encounter.
6. Can Label Design Help Prevent Wrinkles, Bubbles, and Edge Lifting?
Label performance is not determined by materials alone. Artwork dimensions, label shape, and placement can also influence the finished result.
A label that is too large for a bottle’s available surface area may be more difficult to apply smoothly. A design that crosses a sharp transition in the container’s shape may create an area where the label cannot sit evenly.
Before finalizing the artwork, review the design alongside the physical bottle.
Consider these adjustments where appropriate:
- Revisit label dimensions. A slightly smaller label may fit the available panel more effectively.
- Evaluate custom die-cut shapes. A label shape designed around the bottle’s contours may help improve fit.
- Review placement. Positioning the label on a more uniform area can reduce challenges caused by grooves, shoulders, or embossed details.
- Check the seam and edges. Confirm that label edges do not fall in areas where the bottle shape makes adhesion difficult.
- Evaluate decorative finishes. Embossing, heavy coatings, or other embellishments can affect label stiffness and flexibility.
These changes should be evaluated against the desired design, required label content, and production specifications. Reducing the label size or changing its shape is not always necessary, but it may be worth exploring when a design does not perform as intended.
What to consider: Review the artwork on a physical bottle or representative sample, not only on a computer screen or flat proof.
7. When Should You Consider a Different Label Format?
Pressure-sensitive labels can work across a wide range of bottle shapes, but they are not necessarily the best solution for every container.
If the bottle has pronounced contours, complex curves, or a design that requires extensive coverage, it may be worth comparing other labeling formats.
For example, shrink sleeves use heat to conform a printed film around a container, making them an option for bottles that need graphics across more complex shapes. They can also provide extensive coverage for branding and product information.
However, shrink sleeves have their own material, application, and performance considerations. The best format depends on the container, production equipment, desired appearance, and packaging requirements.
Inovar offers several labeling formats that brands can evaluate:
- Pressure-sensitive labels for applications requiring flexibility in label materials, shapes, adhesives, and finishes.
- Shrink sleeves for container designs that may benefit from conformable, full-body graphics. Review the shrink sleeve offering within Inovar’s product portfolio.
Comparing formats early can help avoid investing in a design that is difficult to apply or maintain during production and distribution.
What to consider: If repeated testing shows that a pressure-sensitive label cannot meet the application’s requirements, discuss alternative labeling formats with your packaging supplier.
A Practical Checklist for Labeling Curved or Textured Bottles
Before approving a new bottle label, use this checklist to identify potential issues.
- Confirm the bottle material and surface finish.
- Identify curves, tapers, shoulders, grooves, and embossed features.
- Verify that the label dimensions suit the available application area.
- Evaluate label material flexibility and adhesive compatibility.
- Consider moisture, condensation, temperature, and other environmental conditions.
- Review label placement, edges, and seams.
- Test the label on the actual container.
- Evaluate performance using the intended application method.
- Consider alternative label formats if the container geometry presents significant challenges.
A structured review can help teams identify potential issues before committing to a full production run.
Frequently Asked Questions About Labeling Curved and Textured Bottles
Why do labels wrinkle on curved bottles?
Labels can wrinkle when the material, dimensions, or shape do not suit the bottle’s curvature. Tapered surfaces and pronounced contours can make it harder for a flat label to sit evenly. Reviewing the label geometry, material flexibility, and placement can help identify the cause.
Why do labels peel off textured bottles?
Textured surfaces can reduce the area where adhesive contacts the container. Raised details, grooves, and uneven surfaces may prevent a consistent bond. The appropriate adhesive and label construction depend on the texture, bottle material, and application conditions.
What type of label works best on curved bottles?
The best label depends on the bottle’s material, diameter, curvature, intended use, and desired appearance. Pressure-sensitive labels may work well for many curved bottles when the material and adhesive are properly selected. Shrink sleeves may be worth evaluating for containers with more complex shapes or full-body graphics.
How can brands improve label adhesion on plastic bottles?
Start by identifying the plastic type, surface texture, and application conditions. Select a compatible adhesive and label material, ensure the container surface is suitable for application, and test the construction on the actual bottle. Different plastics can require different approaches, so results should be validated for the specific package.
Should labels be tested on the actual bottle before production?
Yes. Testing on the intended container helps reveal issues that may not appear on a flat proof, including wrinkles, edge lifting, uneven placement, and environmental performance concerns. Where possible, testing should reflect the intended application method and real-world conditions.
Find the Right Label for Your Bottle Design
Curved and textured bottles create unique labeling considerations, but the right combination of material, adhesive, design, and application method can help address many of these challenges.
By evaluating bottle geometry early, considering the conditions the package will encounter, and testing the label on the actual container, brands can make more informed decisions before production begins.
Inovar works with brands to evaluate label materials, constructions, and finishes for a wide range of applications. Explore our pressure-sensitive label solutions or connect with your Inovar representative to discuss the requirements of your bottle and labeling project.
THE LATEST FROM INOVAR

WE'RE HERE TO SERVE YOU
Creating and producing labels can be overwhelming, but our experts are here to guide you every step of the way. Whether you have a project ready to go, have questions about label applications or materials, or want to learn more about our services, our team is ready to assist you.